Fixing Hydraulic Relief Valve Malfunctions

Relieving valve failures cause pressure spikes, leaks, and system damage. This guide covers relief valve troubleshooting, listing common symptoms, likely causes, and specific fixes, plus prevention tips and safety checks for professional hydraulic maintenance.
- Chattering often indicates a contaminated or worn spool, requiring cleaning or replacement.
- Pressure drift points to internal leakage or a stuck valve, demanding disassembly and inspection.
- External leaks usually come from worn seals or loose fittings, solved by proper torquing and sealing.
- Regular pressure relief safety checks prevent minor faults from becoming dangerous failures.
- Document every repair step to track recurring issues and improve maintenance planning.
Why relief valve failures cause system problems
Hydraulic systems rely on relief valves to cap maximum pressure. The valve is the last line of defense. If it sticks, drifts, or chatters, the pump must work harder or the system may lose pressure. The result is heat, worn components, and unsafe conditions.
A relief valve failure rarely stops a machine instantly. It degrades performance. The operator notices slower cycle times first, then a hotter reservoir, and finally a strange noise from the manifold. By then, the pump has already worked against a restricted or leaking path, generating unnecessary heat. This heat degrades the fluid. The degraded fluid swells seals and clogs filters. The cycle continues.
This guide walks through common failure patterns and the field checks that separate a simple seal swap from a full rebuild. It focuses on what the technician sees, hears, and measures. It avoids guesswork by linking specific symptoms to specific mechanical causes.
How to read the symptoms
Before opening a valve, note what the system does. Operators usually report three things: noise, pressure behavior, and leakage. Listen for high-frequency buzzing or irregular thumping. Watch the gauge for bouncing readings or a slow climb. Check the manifold and valve body for damp spots or weeping. These clues point to the root cause faster than guessing.
Noise is the earliest indicator. A healthy relief valve is silent. A valve that is near its setting may hum slightly, but it should not buzz loudly. A buzz that sounds like a high-pitched whistle often indicates turbulent flow through a narrowed passage. A low thump suggests the valve is opening and closing rapidly. This is chattering.
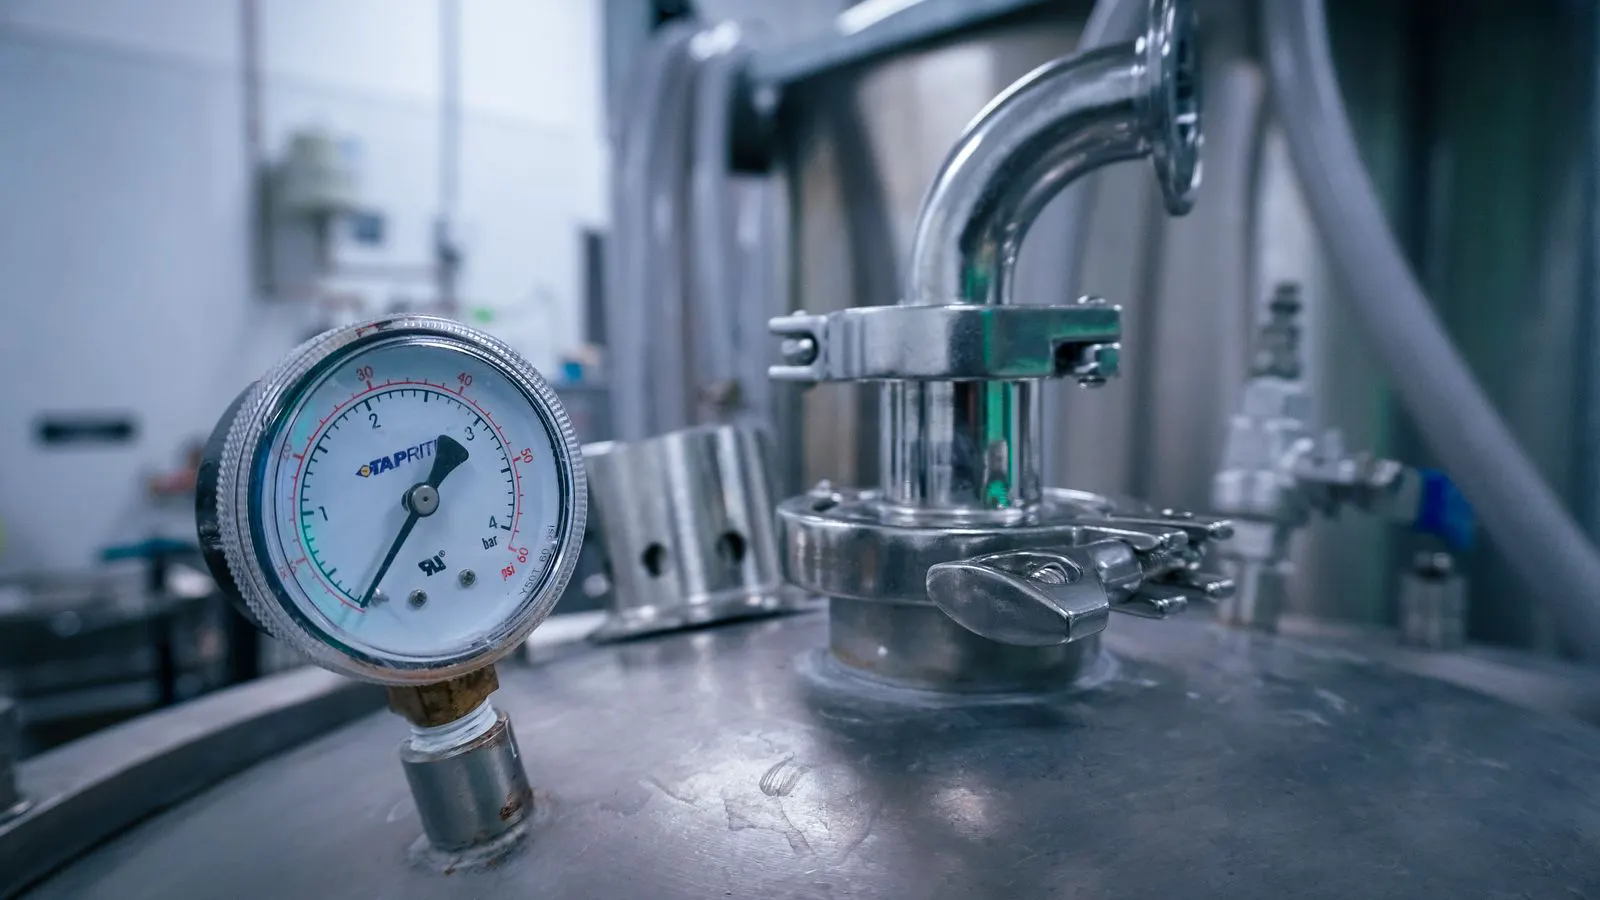
Pressure behavior tells the story of the flow path. A steady needle on the gauge means the system is stable. A needle that jumps up and down indicates instability. A needle that climbs slowly from a low baseline suggests internal leakage. The system is not holding pressure because fluid is bypassing the intended load paths.
Leakage is the most visible symptom, but it is often the least informative. External leaks show where the seal failed, but they do not explain why the internal pressure control failed. Internal leaks are invisible. They only show up as pressure loss.
| Symptom | Likely cause | What to do |
|---|---|---|
| Chattering or buzzing | Contaminated spool, worn spring, or low fluid viscosity | Bleed the system, flush lines, and inspect the spool for nicks. Replace the spring if it has lost tension. |
| Pressure drift or slow rise | Internal leakage, stuck pilot, or worn seat | Disassemble the valve. Check the seat for scoring and the pilot for debris. Replace the seat or pilot as needed. |
| External weeping | Worn O-ring, loose port, or cracked body | Replace the seal. Torque the port to spec. Inspect the body for hairline cracks and replace if found. |
| Valve does not open | Spring seized, pilot blocked, or wrong setting | Back out the adjustment screw to verify the spring is free. Clean the pilot orifice. Reset to the nameplate rating. |
| System pressure too low | Valve opens too early or is leaking internally | Check the setting. If the valve is new and still low, test the pump and accumulator. Replace the valve if internal wear is visible. |
Chattering and vibration
Chattering is the most common complaint. It happens when the valve oscillates between open and closed. The spring usually tries to close the valve, but fluid turbulence or a rough seat keeps it bouncing.
The first step is always the fluid. Old or contaminated oil creates bubbles and deposits that jam the spool. Drain the reservoir and replace the oil. Inspect the filter. A clogged filter starves the valve of clean flow. If the chattering continues, open the valve. Look at the spool. A scratch on the face or a burr on the edge will cause instability. Polish the seat and replace the spool if the metal is pitted.
A worn spring also causes erratic movement. Replace it with a new unit that matches the rating. A spring that has lost tension will not hold the spool closed under load. The valve will open earlier than intended, causing pressure drops and instability.
Another common cause is a restriction in the inlet or outlet port. If the port is partially blocked by debris, the flow velocity increases. High velocity creates turbulence. Turbulence causes the spool to flutter. Check the lines and the manifold for debris. Clean the ports with a brush and solvent. Never use compressed air on the internal passages. Air can push debris deeper into the orifice.
Vibration can also come from the pump. If the pump is cavitation, it sends pressure waves into the system. These waves can excite the relief valve spool. Check the suction line for leaks. A suction leak introduces air. Air is compressible. It causes pressure spikes. The relief valve sees these spikes and reacts by opening. The result is chattering. Fix the suction side first. Only then move to the valve.
Pressure drift and slow response
Pressure drift means the system cannot hold a steady level. The gauge needle may climb slowly or the valve may open in pulses. This is usually an internal leak. The spool is not sealing against the seat.
Debris is the top suspect. Even a fine metal shaving can prevent a full seal. Disassemble the valve and clean every part. Use a soft brush and solvent. Avoid compressed air on delicate seats, as it can push debris into the orifice. After cleaning, check the seat. If it is scored or pitted, replace it. If the seat is good but the spool is worn, replace the spool.
A stuck pilot also causes drift. The pilot is a small orifice that controls when the main valve opens. If it is blocked, the valve opens late. Clean the pilot orifice with a fine pick and solvent. The pilot orifice is small. A small piece of debris can block it completely. The valve will then hold pressure until the force overcomes the blockage. This causes a sudden pressure drop.
Slow response can also be caused by a worn spring. If the spring is weak, the valve opens at a lower pressure. The system never reaches the target pressure. The gauge needle stays low. The operator may think the pump is weak. The pump is fine. The valve is just opening too early. Replace the spring and reset the valve.
Another factor is fluid viscosity. If the fluid is too thick, the spool moves slowly. It takes time to reach the seat. The pressure builds up while the spool is moving. This causes a delay. If the fluid is too thin, it leaks past the seals. It also reduces the damping effect. The valve chatters. Check the fluid viscosity. Use a fluid that matches the operating temperature. In cold weather, use a fluid with a higher viscosity index.
External leaks and seal failure
Leaks are visible but often simple to fix. External weeping usually comes from the O-ring or a loose fitting. Check the port. If it is loose, tighten it to the torque specification. Do not over-torque. This can crack the manifold or strip the threads. If the port is tight, replace the seal.
Use the correct material. Viton is common for mineral oil, but check the fluid compatibility. Some fluids attack standard nitrile seals. Use a seal that is rated for the specific fluid and temperature. A seal that is not compatible will swell. It will not seat properly. It will leak.
If the body is cracked, the valve must be replaced. Cracks can grow under pressure and cause sudden failure. A small leak today becomes a spray hazard tomorrow. Always address leaks before they become a safety issue.
Check the manifold threads. If the threads are stripped, the valve will not seat properly. Replace the manifold or use a thread sealant. Do not use tape on hydraulic threads. Tape is not designed for high pressure. It will blow out.
Also check the drain port. If the drain port is blocked, the valve will not close properly. The pilot will not open. The spool will stick open. The system will lose pressure. Clean the drain port.
When the valve does not open
A valve that never opens is dangerous. The pump may see full load with no pressure limit. The motor can overheat, and the hoses can burst.
First, verify the setting. Back out the adjustment screw slowly. If the valve opens at a low pressure, the spring is likely fine. If it still does not open, the pilot is blocked or the spool is stuck.
Clean the pilot. If the spool is stuck, it is likely due to debris or a warped face. Disassemble and clean. If the spring is seized, it will not compress. Replace the spring. If the valve does not open after cleaning, replace the unit.
Do not force a stuck valve open. This damages the seat and spool. A stuck valve is usually caused by corrosion. If the fluid has degraded, it may contain acidic compounds. These compounds eat the metal. The spool welds to the seat. You cannot clean this. You must replace the valve.
Prevention and pressure relief safety
Prevention is cheaper than repair. Use the correct fluid and filter. Change the oil on a schedule that matches the duty cycle. Check the filter element often. A dirty filter is the main cause of valve chattering.
Keep the reservoir sealed. Water and air cause rust and foam. Both jam the valve. During routine maintenance, verify the pressure setting. Use a calibrated gauge. Compare it to the nameplate rating. If it is off, reset it. Document the date and the reading. This record helps track drift over time.
Always lock out the system before working on the valve. Relieve all pressure. Open the bleeder valves slowly. Check for trapped pressure in lines and accumulators.
Repair documentation and parts
Keep a log for every valve repair. Note the date, the symptom, the parts replaced, and the test pressure. This data reveals patterns. If a certain valve fails often, check the system design. Maybe the pressure is too high for the fluid. Maybe the pump is too powerful.
The log also helps when ordering parts. You know the exact model and size. Avoid mixing parts from different manufacturers. Mismatched seats and spools cause leaks. Buy parts from the same supplier for the whole kit.
If you need a specific rating, order a new valve rather than re-tuning a worn one. A new valve is often less work and more reliable.
Frequently asked questions
Can I just tighten the relief valve to stop chattering?
No. Tightening the port only fixes a loose fitting. Chattering is usually internal. You must clean or replace the spool and seat to stop the vibration.
How often should I check the pressure setting?
Check it during routine maintenance. At minimum, verify it once a year. If the system runs hard, check it quarterly. Use a calibrated gauge to be sure.
What if the valve leaks after I replace the O-ring?
Check the port threads. They may be stripped or damaged. Clean the threads with a wire brush. If the port is damaged, replace the manifold or valve body.
Is it safe to run the system with a leaking relief valve?
No. A leaking valve loses pressure and may fail suddenly. Isolate the circuit and repair the valve before restarting the pump.
Can I use a different spring to change the pressure?
Do not mix springs from different valves. Each spring is designed for the specific spool and seat. Use the correct part number to ensure proper function.